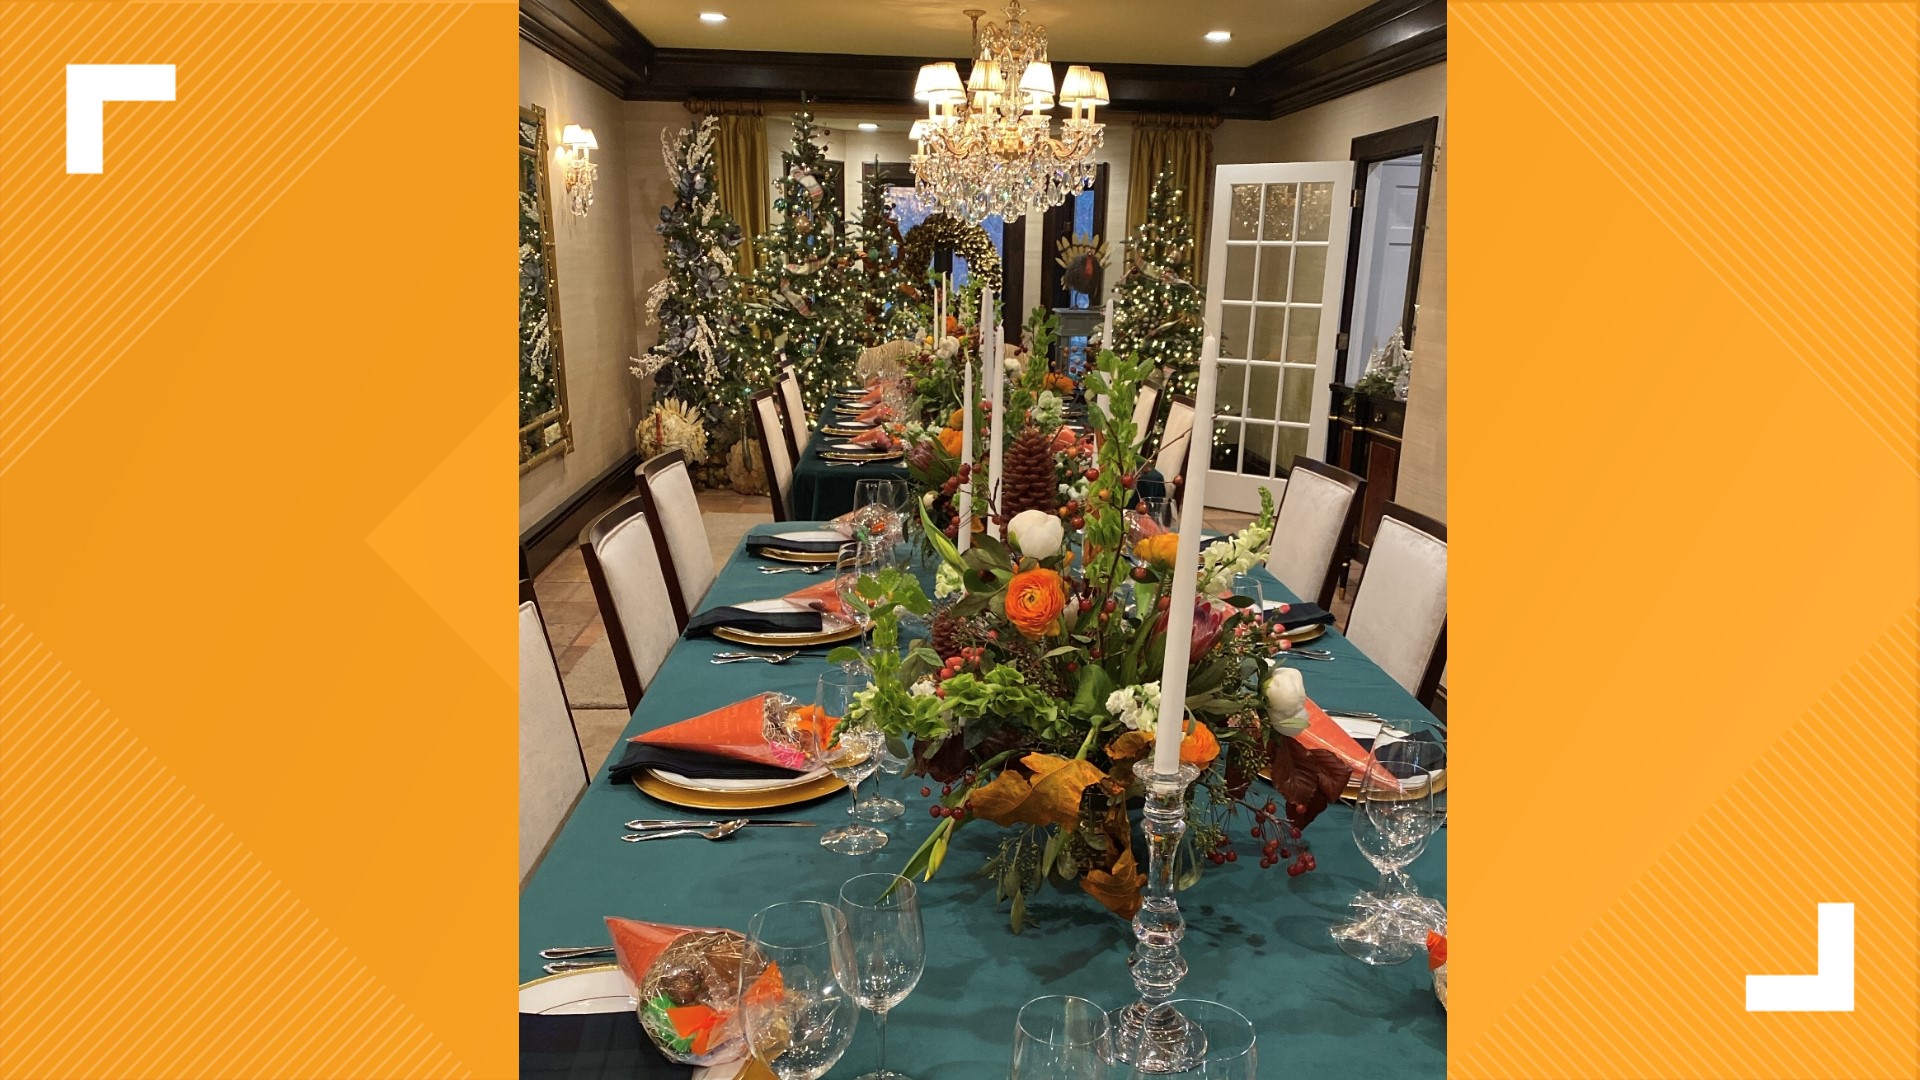
EAST STROUDSBURG, Pa. — If you're in charge of a holiday party, festive dinner, or the Christmas meal, making your table pop isn't always easy, especially if you're not feeling super crafty or creative.
But don't fret; that festive feast help is here!
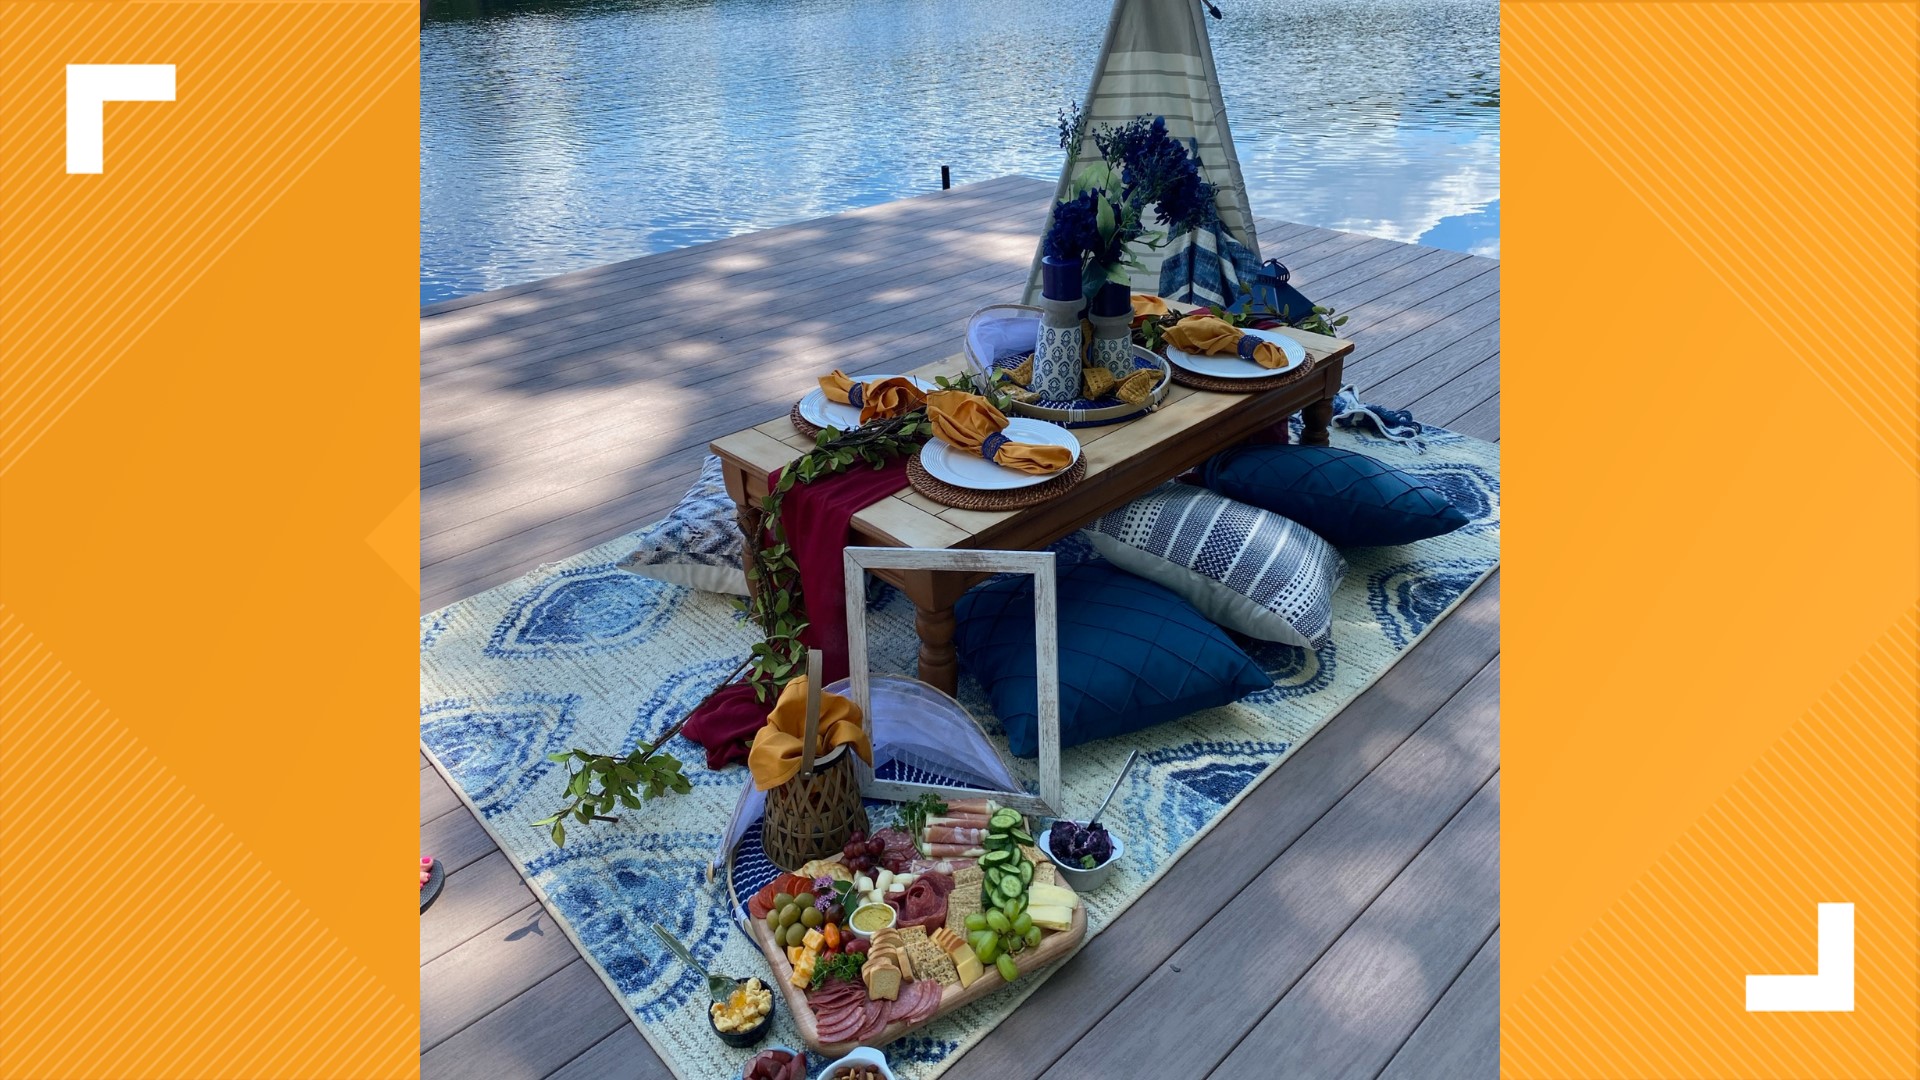
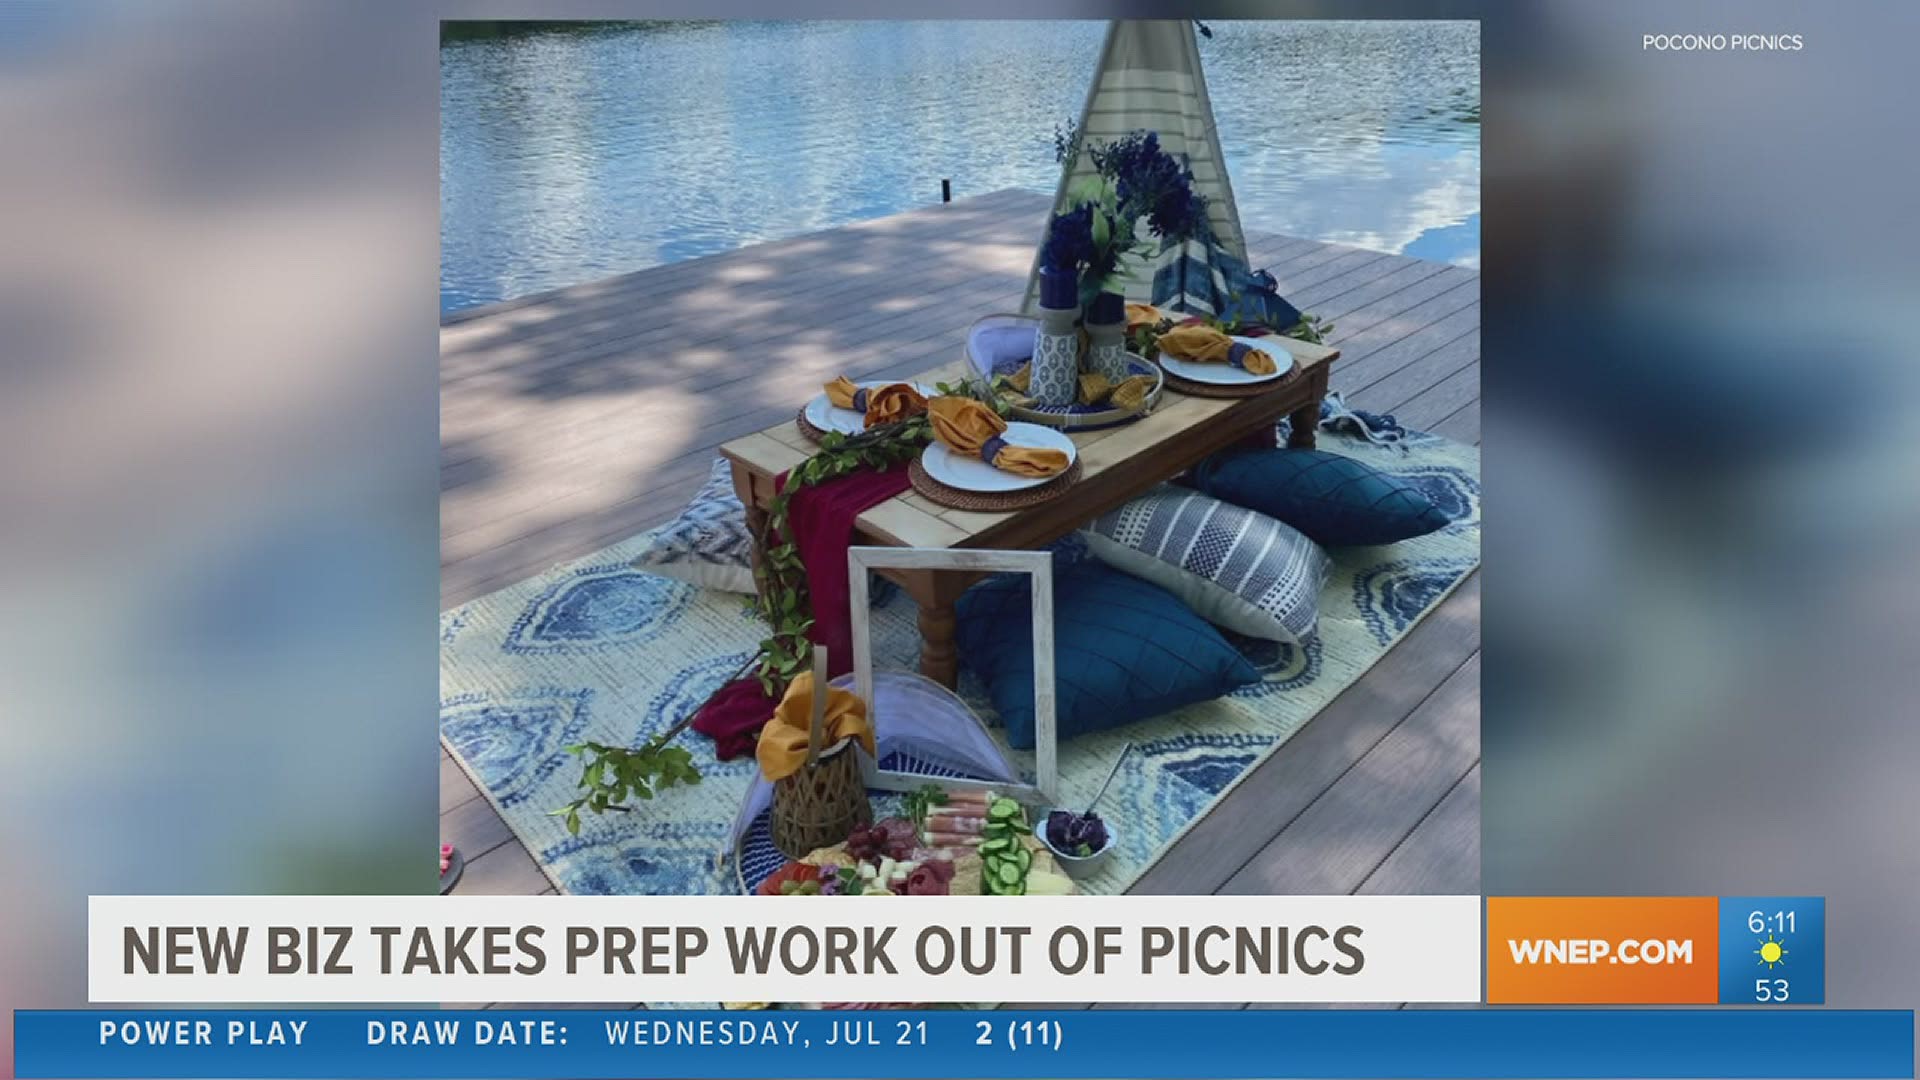
Newswatch 16's Ryan Leckey tackled tablescaping 101 with the owners and pros from Pocono Picnic, Jamie and Lori.
Their fairly new company is one of our area's "first pop-up picnic experience that specializes in "perfect-for-selfies" and romantic custom picnic spot experiences and luxurious table styling."
Jamie and Lori are known in Northeastern Pennsylvania for setting up eye-catching, social media savvy snapshot-worthy picnics in the warmer weather.
On Thursday, the pair joined Ryan just outside of Tobyhanna to offer some "news you can use tips" to help take your holiday table decor from maybe a two all the way to ten. And, without breaking the bank!
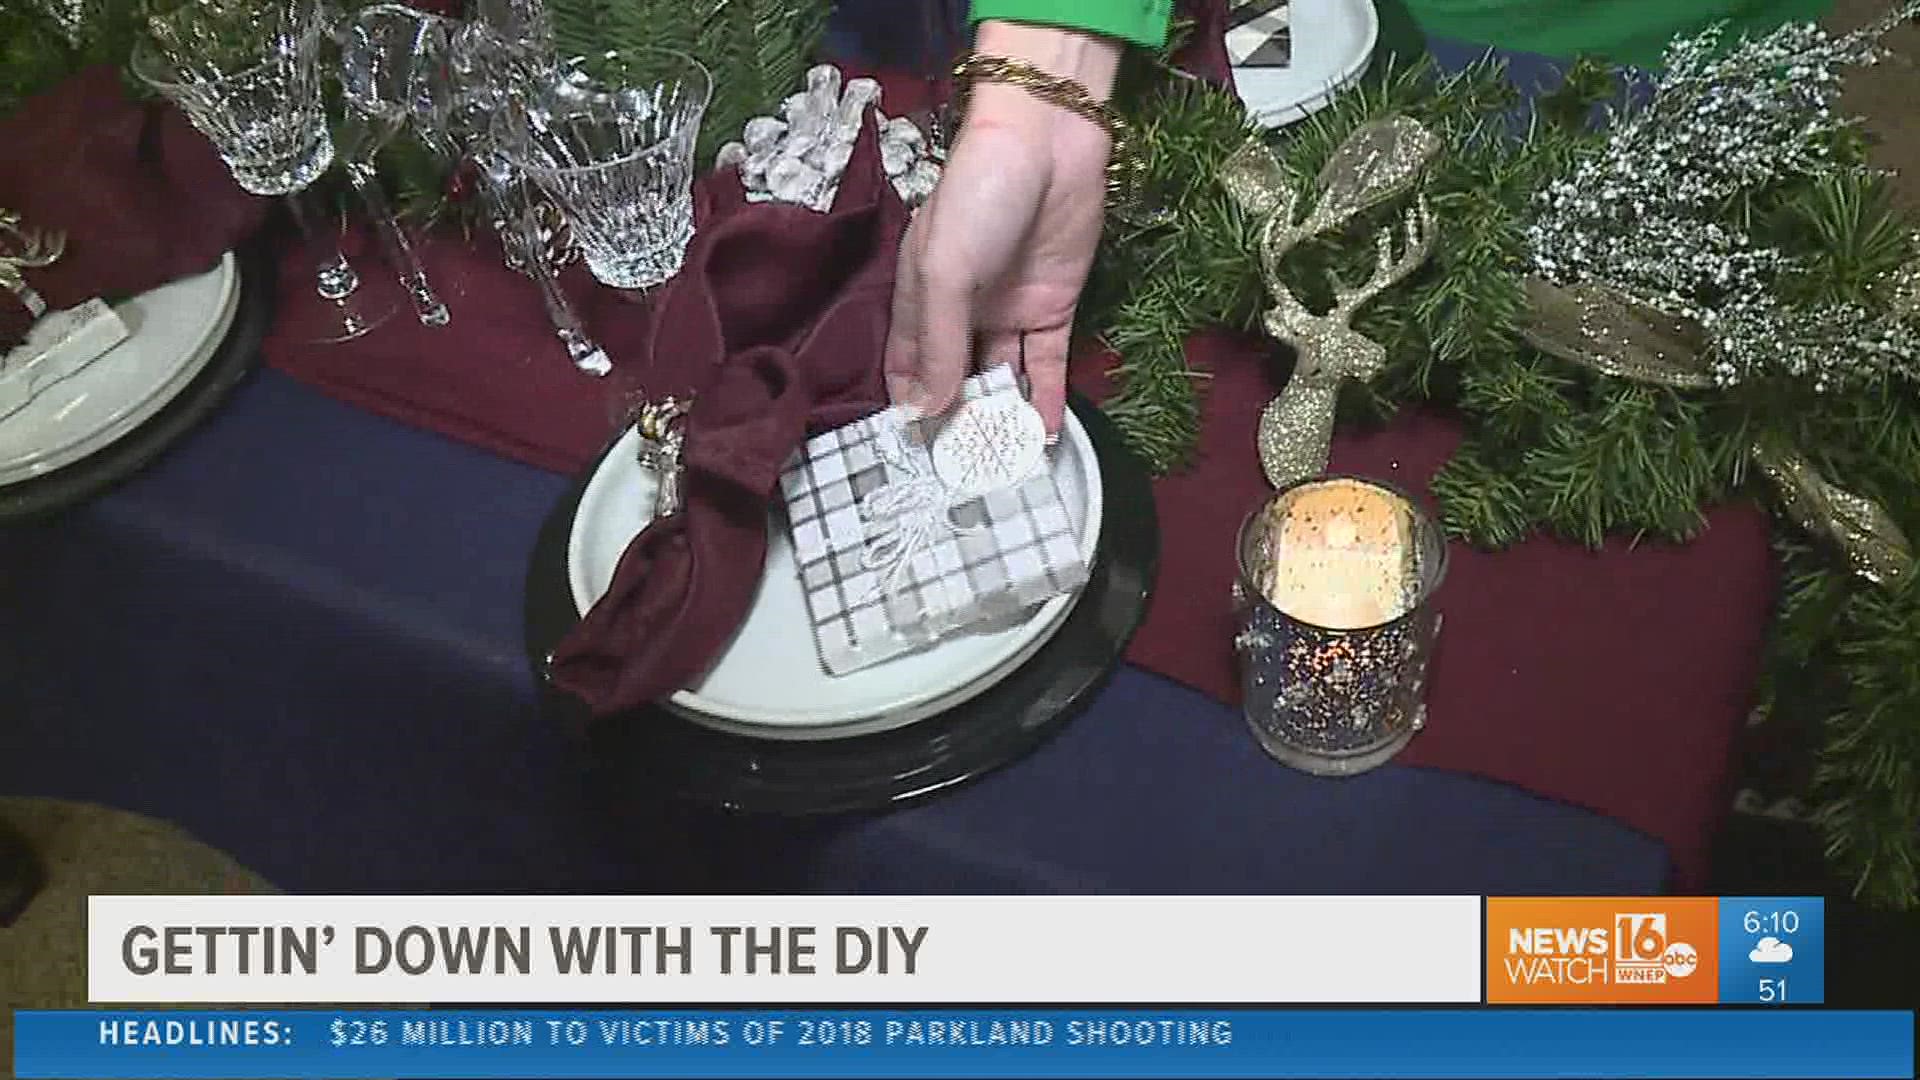
Cheap, Chic Cheats
The following tips are courtesy of the team at Pocono Picnic :
DIY Decorative Chargers
Supplies:
- Dollar Store Charger plate
- Wrapping Paper
- Pencil
- Decoupage medium like Mod Podge
- Foam brush
- Scissors
Tip: Use extra wrapping paper for a table runner for an inexpensive way to bring your table together.
Directions:
- Measure your charger with your favorite or desired wrapping paper.
- Use a pencil and trace around your charger. Then, take your scissors and cut around your tracing.
- Take your foam brush and dip it into the Mod Podge. Afterward, cover your charger front and back.
- Place it on your wrapping paper.
- Fold your edges and smooth out any wrinkles.
- When you are finished, place an extra coat of Mod Podge to the top of your charger in order to seal it.
- Let it dry overnight.
Candy Cane Bowls
Supplies:
- Center Pieces
- A Large bag of Peppermints (I use 24 per bowl)
- Silicone baking mat or parchment paper
- Baking Tray
- Small Ball
- Oven mitts
Directions:
- Preheat the oven to 300 degrees and line your baking sheet with either parchment paper or a silicone baking mat.
- Lay one mint in the center of the baking liner. Take 6 or more mints and lay the mints around the center mint (making a flower type of shape). The mints should be touching and as close with as little gap space as possible. Take the remaining 12 mints and make another circle around the center circles. Continue until you get your desired size.
- Place in the oven for about 8 minutes. You don’t want your peppermints to boil.
- Put on your oven mitts, take the baked peppermints and form the mints to the bowl. You will have under a minute before the mints start to harden again.
- Leave the mints on the bowl until they are set. Once set, remove your peppermint bowl. Fill it up with candy or have it out for display!
Candles with evergreen and cranberries
Supplies:
- Your favorite clear glass vase
- Bag of fresh Cranberries
- Loose Evergreen leaves (from outside or leftover decorations)
- White floating candle
- Water
Directions:
- Place loose evergreen leaves at the button of your clear glass vase.
- Add cranberries to the top of the vase.
- Then, add a white floating candle on the center of your vase.
- Finally, add water until the candle is floating on the top.
- Enjoy!
Ornaments and Lights
Supplies:
- Pack of two to three different color ornaments.
- LED Fairy lights Lights
- Clear Vase
Tip: Add Christmas Tree Topper or inexpensive florals from Dollar Tree or Walmart to add some pizzazz to your centerpiece.
Directions:
- In a clear vase, place fairy lights on the bottom of your vase.
- Go around your vase with the fairy lights.
- Place your ornaments inside.
- You can even add decorative ornaments, too!
Candy Cane Centerpiece
Supplies:
- 40 wrapped candy canes
- 1 wide elastic
- glass vase
- Poinsettia floral picks
- 3/4″ wide holiday ribbon
- Glue gun
- small gold bell
Directions:
- Take a clear glass vase and place an elastic band around it.
- Place the candy canes inside the elastic band to hold. You want your candy canes facing outwards.
- When you are finished, place a holiday ribbon around the elastic band.
- Place a poinsettia floral picks.
Dollar Tree Tray
Supplies:
- Candle Stick
- Charger
- Glue gun or glue adhesive
Directions:
- Glue the candlestick to the bottom of a Dollar Tree charger.
- Spray paint if you would like one color or leave as is.
- Decorate the top with garland or any decorations you have on hand.
- Enjoy!
Name Tag Ornaments
Supplies:
- Ornaments (one per guest)
- Gift Tag
- Ribbon
- Puff paint or paint pen
Directions:
- Take each ornament, and add ribbon and gift name tag on the top.
- You can even add the name to the ornament with puff paint or paint pen.
- Then, place the ornament on each place setting.
Name Tag Boxes
Supplies:
- Gift boxes (I use the gift boxes for gift cards)
- Truffles (two per gift box)
- Paint pen or pen
Directions:
- Place two truffles per gift box.
- Write the name of each guest on a gift box.
- Place the gift box on each table setting.
Napkin Folding
Supplies:
- Cloth 18X18 Napkins
- Napkin Rings
Directions:
- Fold the top down and the bottom up so that the two ends of your napkin meet in the middle.
- Fold the opposite two sides in so it forms a square.
- Pinch the center of your napkin.
- Place your napkin ring in the center.
- Then place your bow in the middle of your plate!
Holiday Water Jug
Supplies:
- Jug of Water
- Bag of Fresh Cranberries
- Rosemary
- 1 Orange (sliced)
- Cinnamon Sticks
Directions:
- Slice your orange.
- Place cranberries, rosemary, and cinnamon sticks in a jug of water.
- Add Ice (if needed).
- Pour jug of water until it fills the top.
- Stir with wooden spoon.
- To prevent spilling, place jug or pitcher on tray with a few glasses on hand.
- Enjoy!
Top 5 Must-haves and Tips for a Christmas Party
1. Group your centerpieces in odd numbers
Group your centerpieces or décor in odd numbers. It is more appealing to the eye and allows for adequate spacing. You can choose if you want your table to be symmetrical or asymmetrical. Remember to add elevation because it allows your eye to easily move across your table.
2. Add Layers to your plate
Just like we like to add layers to our clothing in the wintertime, the same concept should be added to our plates. Using multiple sized plates on one setting adds comfort. So, laying up! If you can’t find cute ceramic dishes this Christmas season, the plastic plates are perfect, too! Plus, you don’t have to worry about cleaning extra dishes.
3. Choose bold colors
This is the time to go BIG! Choose BIG BOLD colors for your décor. This will brighten up your home and add warmth/comfort. You can mix and match metals. Additionally, you can include pine cones and greenery to add a touch of mother nature to your table and décor. Do not be shy this holiday season; it is time for you to BOLDLY SHINE!
4. The More the Merrier
The more you add, the merrier your table will be. Add twinkle lights, touches of cranberries, even garland to fill those empty spaces. You can even layer your table runners. The best part of the holiday season is to go big. Create a space that everyone around you will feel comfortable to relax and enjoy the atmosphere around them.
5. Personalize your place settings
You want your family and friends to feel belonged! So, show them there is space for them around the table. Use gift tags, ornaments, or even write their name on a sugar cookie (a treat for later). Anything will do. It shows that you took the time and thought of them before they even appeared on your doorstep. EXTRA TIP- have a few extra name cards ready just in case if you have unexpected guests.
About Pocono Picnic
Their goal is to provide "Insta-worthy services for Date Nights, Birthday Parties, Anniversaries, Engagements and Proposals, Bachelorette Parties, Gender Reveals, Baby Showers, Girls Weekends, Family Reunions and more!"
Pocono Picnic sets it up at a location of your choice, brings the food if you choose, and returns to take care of all the cleanup once finished.
Costs:
Prices for picnics start around $200 and up, depending on what type of package you choose. VIEW THEM HERE!
Contact Pocono Picnic:
You can connect with this group at their website HERE.
Email: poconopicnicllc@gmail.com
Phone: (570) 223-4820
The videos below are from July when Newswatch 16 first met Jamie and Lori from Pocono Picnic.